Getting the Most out of Your iPhone 4 Video Camera
- What to Expect from the iPhone 4
- What the iPhone 4 Video Camera Doesn't Do
- Last Words
Any shooter knows that the best camera available is the one that's available to you. All the fancy equipment in the world can't get you a better video clip if your gear isn't there and ready to go when your shot unfolds.
It used to be—even fairly recently—that accessibility was the only advantage of the cell phone camera over a dedicated camera, especially when it came to video. But with improvements in resolution, focus and exposure controls, and flash (among other things), that rule simply isn't true anymore. In fact, independent of the fact that it's usually within arm's reach, the iPhone 4 video camera (the higher-quality camera on the back, not the lower-quality, front-facing camera) is an excellent option for getting great video—even compared with some dedicated cameras. Does that make it the perfect video camera for every situation? No, absolutely not. But it's pretty good in an awful lot of cases. Let's take a look at what you can—and can't—expect from your iPhone 4 video camera.
What to Expect from the iPhone 4
What the iPhone 4 video camera does, it does beautifully. It takes clean, well-exposed shots—and lets you handle them efficiently in its well-designed interface. With some control over focus, lighting, and zoom, you can influence the look-and-feel of your shots, all the while knowing that if you default to the automatic settings you're likely to wind up with a very decent image.
Crisp, Clean Picture
The iPhone 4 shoots video at 720p; that is, video with 720 lines of horizontal resolution scanned progressively (half the horizontal data on one frame, and the other half on the next frame) and 1280 lines of vertical resolution, at a rate of 30 frames per second. The data is recorded as an H.264 file at a relatively low bit rate to decrease the video file size, which is obviously convenient for storage space, without impacting the image quality, as you can see in Video 1.

You need to upgrade your Flash Player. You need version 9 or above to view this video. You may download it here. You may also see this message if you have JavaScript turned off. If this is the case, please enable JavaScript and reload the page.
Bright colors and crisp images can be obtained effortlessly with the iPhone 4.
Automatic Controls
The iPhone 4 video camera has fully automatic exposure, focus, and white balance controls. Though there were originally some issues regarding the white balance quality (or significant lack thereof), it was fine-tuned in the iOS 4.1 update, addressing the complaints of many who originally found the camera to shoot both stills and video with a yellowish tinge.
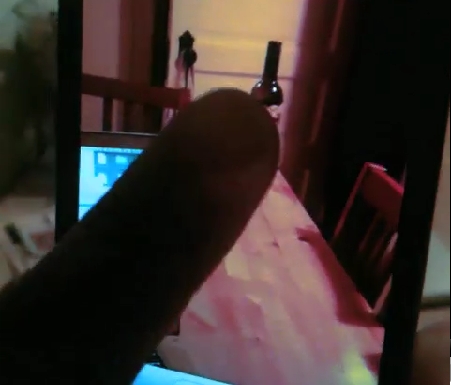
The video camera uses a blue box to tell you where it's choosing to focus, as shown in Video 2. Tapping anywhere on the screen will override the camera's choice in subject with yours, adjusting focus and exposure in unison to optimize for that point. An optional LED sensor significantly improves low-light shooting quality, though arguably at the risk of irritating the user and the cost of battery life.

You need to upgrade your Flash Player. You need version 9 or above to view this video. You may download it here. You may also see this message if you have JavaScript turned off. If this is the case, please enable JavaScript and reload the page.
Although my iPhone wanted me to focus on my work, I "tapped to focus" on something else.
Storage and Retrieval Interface
Accessing your iPhone video clips to watch and share couldn't be easier. Video is automatically stored in the camera roll of your photos application, alongside your still pictures, and is accessible by tapping on the thumbnail of the video image. A second tap allows you to email, text, or upload the clips. The camera roll is accessible directly from the camera application itself, without needing to go home first.
After shooting a piece of video, you can decide how much of it you want to keep in order to spare precious iPhone memory. Pulling the clip up in the camera roll will also reveal a trimming bar, which lets you take frames off the beginning and end of a clip, using thumbnails as guides (see Figure 1). This is a nice way to clean up long, memory-hogging clips (you can discard the bits you don't want) or to make a shorter version of a long clip for easier sharing, while still keeping a version at the original length.
The simple interface allows you to choose which frames to keep and which frames to lose, by dragging on the thumbnail images—an intuitive design to create smaller files that are better for storing space and easy sharing.
