Save 35% on books, eBooks, and Web Editions with discount code CC2025
Introducing the fastest, easiest, most comprehensive way to learn Adobe Creative Cloud 2025 Release apps and software. Adobe Creative Cloud 2025 Release includes hundreds of new features across Adobe's key creative products including the addition of powerful AI tools, as well as enhancements to cloud-based services that provide instant access to design assets and collaborative tools for creatives.
All Classroom in a Book titles that have been updated for 2025 are now available. These are the only titles being updated for this year. To stay informed about future releases and updates to our Classroom in a Book series, please sign up for our newsletters.
For a limited time, save 35%* on titles below when you use discount code CC2025 during checkout.*
Extra value: Take advantage of free ground shipping on all U.S. orders. Most eBooks are available as DRM-free EPUB and PDF—together for one price to read on your desktop or preferred device. Purchase of the Book or eBook includes access to the free Web Edition, containing e-text, videos, and quizzes.
* Sale prices below reflect a 35% discount off list price achieved with purchase of eligible title and application of discount code CC2025.
Featured Titles: Save 35%* with discount code CC2025
Adobe Photoshop Classroom
in a Book 2025 Release
eBook *$36.39
Web Edition *$36.39
PHOTO / DESIGN
Adobe Illustrator Classroom
in a Book 2025 Release
eBook *$36.39
Web Edition *$36.39
GRAPHIC DESIGN
Adobe InDesign Classroom
in a Book 2025 Release
eBook *$36.39
Web Edition *$36.39
GRAPHIC DESIGN

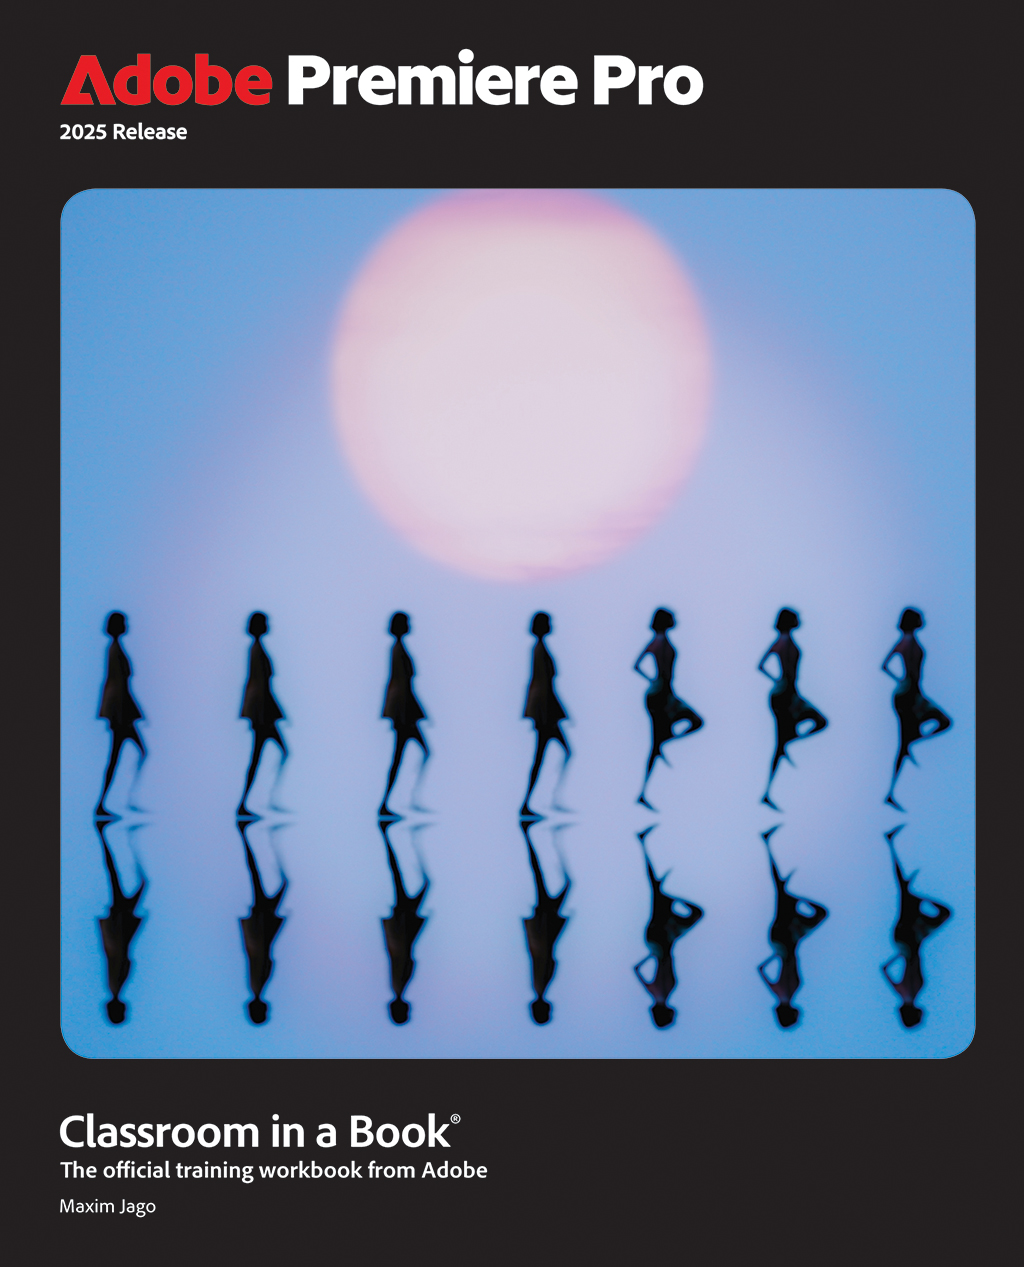
Adobe Premiere Pro Classroom in a Book 2025 Release
Book *$45.49eBook *$36.39
Web Edition *$36.39
Est. release April 21
DIGITAL VIDEO
Adobe Animate Classroom in a Book 2024 Release
Book *$45.49eBook *$43.54
Web Edition *$43.54
GRAPHIC DESIGN
Adobe After Effects Classroom in a Book 2024 Release
Book *$45.49eBook *$43.54
Web Edition *$43.54
DIGITAL VIDEO
Adobe Photoshop Lightroom Classic Classroom in a Book 2024 Release
Book *$45.49eBook *$43.54
Web Edition *$43.54
PHOTO / DESIGN
Adobe Photoshop, Illustrator, and InDesign Collaboration and Workflow Classroom in a Book
Book *$42.24eBook *$40.29
Web Edition *$40.29
GRAPHIC DESIGN
Adobe Creative Cloud Classroom in a Book: Design Software Foundations with Adobe Creative Cloud
Book *$42.24eBook *$40.29
Web Edition *$40.29
CREATIVE SUITE
Adobe Acrobat DC Classroom in a Book, 4th edition
Book *$42.24eBook *$40.29
Web Edition *$40.29
PDF MANAGEMENT
Adobe Press books are published, marketed, and distributed by Peachpit.
* Sale prices displayed reflect 35% discount off list price achieved with purchase of eligible title and application of discount code CC2025. Discount code CC2025 confers a 35% discount off the list price of eligible Adobe Creative Cloud 2025 Release print books, eBooks, or Web Editions purchased on peachpit.com. Discount not valid on Book + eBook "Best Value" bundles, Book/eBook + Video bundles, video training, non-discountable products, Rough Cuts, Safari Books Online, or any title featured as eBook Deal of the Week. Discount code may not be combined with any other offer and is not redeemable for cash. Discount offer expires 11:59 p.m. EST December 31, 2025. Offer subject to change. Release dates subject to change.